Recently I have been very busy and have not been able to devote as much time to doing reviews of the various educational products available for Blender. As a result it has been taking me longer to review some products.
One such educational product is from a person that should be well known to all Blenderheads, Rob Tuytel owner of Blenderpedia and Blenderhead extraordinaire.
For those who are unaware Rob Tuytel has created many different products, one that I reviewed was an ebook which went over the process of creating street scenes as if they were created in the style of the old dutch masters. I was very impressed by the ebook.
So when Rob contacted me many, many months ago and asked if I would review his most recent work "Creating 3D environments in Blender" I was very eager to review it but what with time constraints I knew it would take me a long while to completely watch the course. That said I finally managed to find enough time to completely review his course.
Product Name:
Creating 3D environments in Blender
Author: Rob Tuytel
Runtime: 33 Hours+
Price: £30
Format: Streaming Video and Resource Files
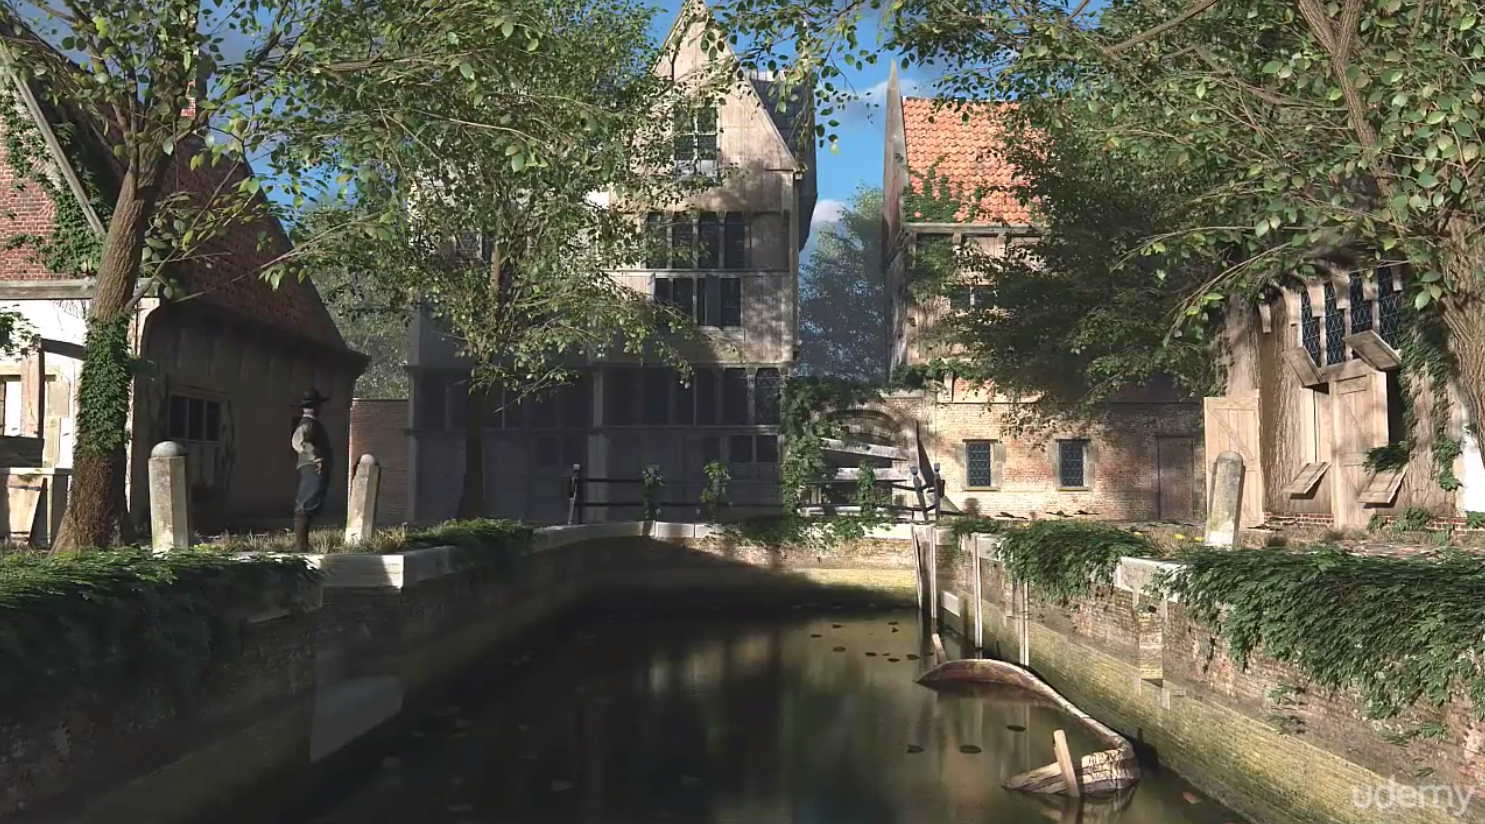
In brief this course is a large collection of video lectures which teaches you how to create an old world street scene with buildings in the style of Dutch architecture. These streets contain buildings, vegetation and various street furniture and various kinds of inorganic things such as rocks.
Rob uses various different versions of Blender throughout the creation of this course but a version of Blender from 2.75 should be able to do what is needed to complete this course.
Now it is worth making very clear that this course is huge, it is split up into 161 different video lectures ranging in running time from 5 minutes to 30 minutes and more. The total running time of the course is more than 33 hours! So as I am sure you can appreciate this is not a quick course to take.
The advantage of the course being so long is that it is very detailed and goes over all aspects of creating a detailed realistic old world street scene. Which once finished I would say looks spectacular.
The course is delivered on the Udemy educational platform. Udemy is educational video platform which allows teachers to create videos and add resources to those videos which the viewers that sign up for the course can download and view.
I have to say the Udemy system for delivering educational content seems very effective I never had any problems viewing and studying using their system while watching all of Robs course. Udemy recently upgraded their system and made it even easier to use. The Udemy system not only allows you to view course content but interact with other users who are doing the course and even talk with the courses creator. Which if you are learning Blender for the first time I would see as a major benefit. Another benefit of Udemy is that you can view it on a PC/Laptop or a tablet, so however you connect to the web all your bases should be covered. Rob also thoughtfully goes over briefly how to use the Udemy system to view his course. So if you are new to Udemy you should have no problems.
Once you have signed up for Rob's course what do you get:
Roughly 161 videos,
All the resources such as reference photo and models,
Blend files,
Textures
HDRI Images
Ebook - Old Masters Unveiled
So literally every resource you need to follow along with the videos or create your own version of the old world street scene are provided with the course. It's worth nothing that although you can follow along with what Rob does and create a clone of his scene he does encourage students to come up with their own ideas and concepts.
Although the course does not skimp on the details of using Blender if you are a Blender beginner you will easily be able to follow along as Rob's explanations of Blender's various features and how to use them are very clear and well narrated. Just as importantly the video encoding is very clear and you will be able to see everything he does in very sharp detail.
Even if you have never used Blender before Rob has you covered he goes over the very basics of obtaining, installing and using some of Blender's most basic but fundamental features in the beginning lectures. These were very clear and easy to understand. They serves as the foundation for all the later videos which use similar techniques to create the assets in the scene throughout the course.
Once using Udemy and getting and installing Blender are covered Rob introduces what will be covered in the rest of the course and enumerates the process he goes through when creating large projects such as this one. How he brainstorms and gets ideas and inspiration, as well as how he organizes his ideas to make it easier to achieve his project goals.
All of this is covered in Chapter 1 and 2 which goes over all the preliminaries.
As I said previously there are 161 video lectures they are organized into chapters are follows:
Chapter 1 - Before We Start
Chapter 2 - Introduction To Blender And Setup
Chapter 3 - Materials
Chapter 4 - Creating A Simple Building
Chapter 5 - Creating An Advanced Building
Chapter 6 - Nature
Chapter 7 - Road And Paths
Chapter 8 - Light And Atmosphere
Chapter 9 - Creating A Scene From Scratch
Chapter 10 - Final Review - Tips & Tricks
Chapter 2 is a great primer on the basics of Blender usage Rob covers using Blender's most useful tools for this type of project such as modifier usage and how to do basic texturing and renders of things you create. Also covered is the basics of modeling simple shapes in Blender.
The final part of chapter 2 takes all the information that has been taught to you up to that point and uses it to create and texture a simple but very impressive looking fence.
It's at this point that another useful feature of the Udemy educational platform makes an appearance that of "Quiz and Quick Tests". These are what they sound like as you progress through the course you are tested on what you have learned and rated based on your answers. These test are only presented at the beginning stages of the course in later parts you are expected to have already learned the key concepts the course has taught up to that point. Which you are very likely to have by that point as Rob will have drilled home those concepts many times.
Chapter 3 goes more in-depth on creating and using Blender Cycles Material Nodes for creating realistic look node materials for the models you create while doing the course. One thing I have noticed with very experienced and talented Blender users is that they often make very impressive results while using the least amount of features of Blender to get those results. This is the case with Rob he create very simple but very easy and clear to understand Material Node setups which work very well for the purpose they are intended for. Watching him create his node setups goes to show how efficient the Blender Cycles Material Nodes can be in the right hands.
If you have never used Blender Material Node system then have no fear Rob goes over all the important features slowly and methodically so by the end of his explanations you should be clear on the way Blender Cycles Material Nodes system works.
Once the basics of Material Nodes are covered Rob then uses the information to make a material for a leaf which is a technique used throughout the rest of the course. More advanced topics such as Node Groups are covered. So by the end of this chapter you will have a good grasp of how the Material Node Editor works and the power and control of materials that it gives you.
Chapter 4 is your first really in depth test of weather you have been paying attention to what Rob has been teaching you as in this chapter he goes over all the steps to create a simple building that uses all the tools and features covered so far. So that means modeling, altering, designing and texturing a small building which has various items on it such as windows and various building ornaments. Don't be fooled this building is simple but in its creation you use all of the features that in later projects will be used to make more detailed and advanced buildings and other things.
One very handy bonus feature of this chapter is coverage of how appending and linking works in Blender and how you can use it to organize and manage your scenes as they get larger and more complex.
Chapter 5 - Creating Advanced Buildings is where things start to get very detailed and precise. You create more advanced houses/buildings, a church and various things like borders, chimneys, roofs and windows with lot of decorations.
With all this extra details it starts to become necessary to use various techniques to lower the poly count of the models in the scene and Rob goes over the various techniques to achieve the various Level Of Detail effects in Blender to keep the scene to manageable vertices counts within the scene. The results are very impressive, with massive drops in vertex counts yet no loss in the quality look of the buildings.
By the end of this chapter building and texturing various building types will be within your grasp and you should be able to take it in your stride. This sort of modeling is called Hard Surface modeling as unsurprisingly you are modeling things which are man made and which are generally synthetic in nature.
Chapter 6 - Nature covers the less synthetic side of scene creation that is creating organic things such as grass, moss, ivy and trees, various types of rocks and leaves.
His coverage of each of these topics is very detailed if you want to know how to make nice looking grass you will really like this chapter.
One thing to note is that when creating trees Rob uses a paid addon for Blender called Grove 3D. This is a very effective tree creation addon but Grove 3D does not ship with the course, so you will either need to purchase that separately or use the other tree addon that does ship with Blender.
Rob covers this addon briefly but for the rest of the course uses Grove 3D. You should be able to create your own trees using the free addon that ships with Blender or create your trees manually using basic modeling techniques which Rob demonstrated previously.
There are a lot of topics covered in this chapter but the end result looks amazing the vegetation really makes the scene come alive.
Chapter 7 - Road And Paths covers the various techniques in creating roads and paths in a scene. Rob also goes over his process for getting references for good path design.
Vertex painting is used to texture and create paths that have leaves and grass which can be controlled as to where the leaves and grass appear on the roads and paths. Also usefully a simple but useful technique for creation of puddles on the path is demonstrated which really added to the realism of the path.
After dirt paths are covered Rob moves on to creating Cobble Stoned roads and shows a very effective method for creating them. It is somewhat time consuming but the end result is very impressive. Small items which help with realism and extra touches such as adding pebbles and sand to the paths are covered.
Blender's particle system is used extensively to achieve the scattering of leaves, pebbles and grass around the scene in very quick and efficient ways. Be aware however that you will need a fairly powerful computer to duplicate some of the techniques used, lots of ram and a fairly powerful Cuda based GPU based graphics card. That said with a bit of forward thinking even on less powerful hardware you should be able to achieve similar results by breaking your scene up and using more appending and linking. It will just take more organization.
Chapter 8 - Light And Atmosphere is shorter chapter but the information contained within is no less important. In fact the information covered on how to use and improve lighting and atmospheric effects within Blender will take your scenes from looking ok to looking spectacular with correct use of the information that Rob imparts.
The basics aspects of lighting are covered and how Blender uses light to achieve the effects of lighting in the viewport. Of particular note is the coverage of environment textures and lighting specifically how to use HDRI images which are massively powerful for achieving the realistic look of a scene.
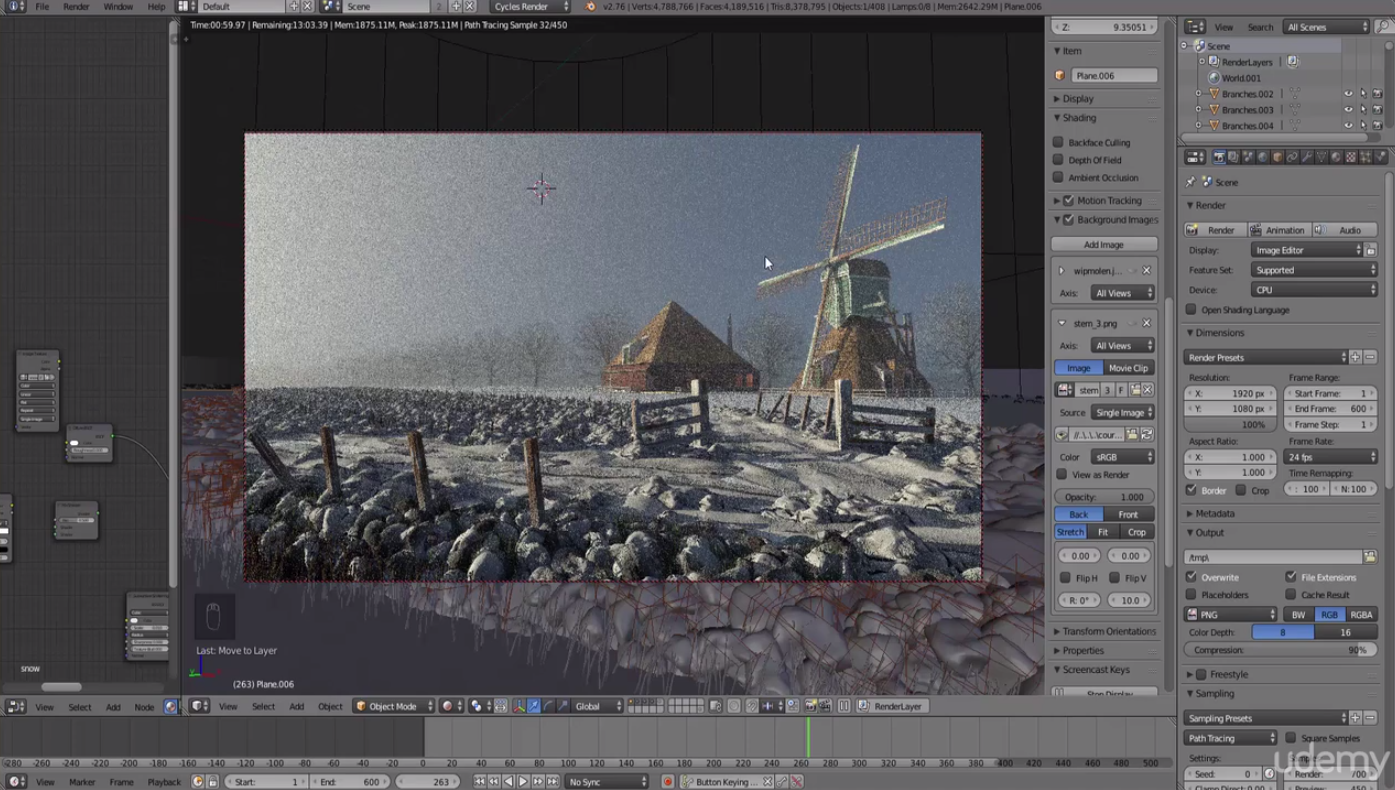
Also covered is volumetric lighting tools in Blender to achieve atmospheric lighting effects in Blender. Though be warned you will need a very powerful machine to use this tool or an awful lot of patience as it is a very intensive thing to calculate and use. It is however truly amazing what a bit of atmospheric haze/fog and mist can do to a scene, so the result may well be worth the wait.
He demonstrates this by adding an extra video with a scene full of snow showing the effects of fog within a scene.
Chapter 9 - Creating A Scene From Scratch - This chapter takes all the previous things you learned in the previous chapters and creates an entirely new scene from the ground up. By this point you are able to test how much you have taken in from Rob and Rob works he way through the creation of a full scene.
It worth pointing out that Rob used a very efficient way of texturing objects in a scene called project from view, in fact I can't remember if he ever uses Blender's texture seams feature at all throughout his entire course. He makes what would otherwise be somewhat difficult texturing tasks seem very easy with the techniques he uses.
Rob's end resulting renders look amazing and by this point I would say that the viewer should be able to make scenes that look just as impressive. Maybe not as quickly and efficiently as Rob but you will be able to come up with something of equivalent quality.
Chapter 10 - Is a review of all the things you learned on the course and some extra spit and polish tips and tricks are explained to get even more effective ways to display and render your scenes to take it that extra mile.
Now I need to point out that this review is a very quick review for a course that is so big. If I had gone into full details of everything Rob covered throughout the entire course this review would be five times the size and would be lists and lists of features of Blender that Rob used. It would not make for interesting reading.
So in short Rob's course is excellent and after watching it you will be able to make some truly impressive street scenes that have both inorganic and organic features.
The fact that this course is accessible to Blender beginners and achieves such impressive results at the same time I find very impressive.
If you are interesting in creating and modeling street scenes with all the street furniture and organic elements you should not miss this course.
Review Score 90%